A Photogram is a visual representation of a scene throughout time. It is a fixed picture, see examples below.
Its base element is a timelapse, a video that shows a scene throughout several hours. For instance most commonly a sunset. After very short process, the timelapse is transformed into a Photogram. By scanning the image horizontally, the viewer can appreciate several extracts from different moments in time.
The aim of this page is to explain how the Photogram app works, and how anyone can create their own Photogram in a few simple steps.
After choosing your preferred settings, hit the render button and get your result :
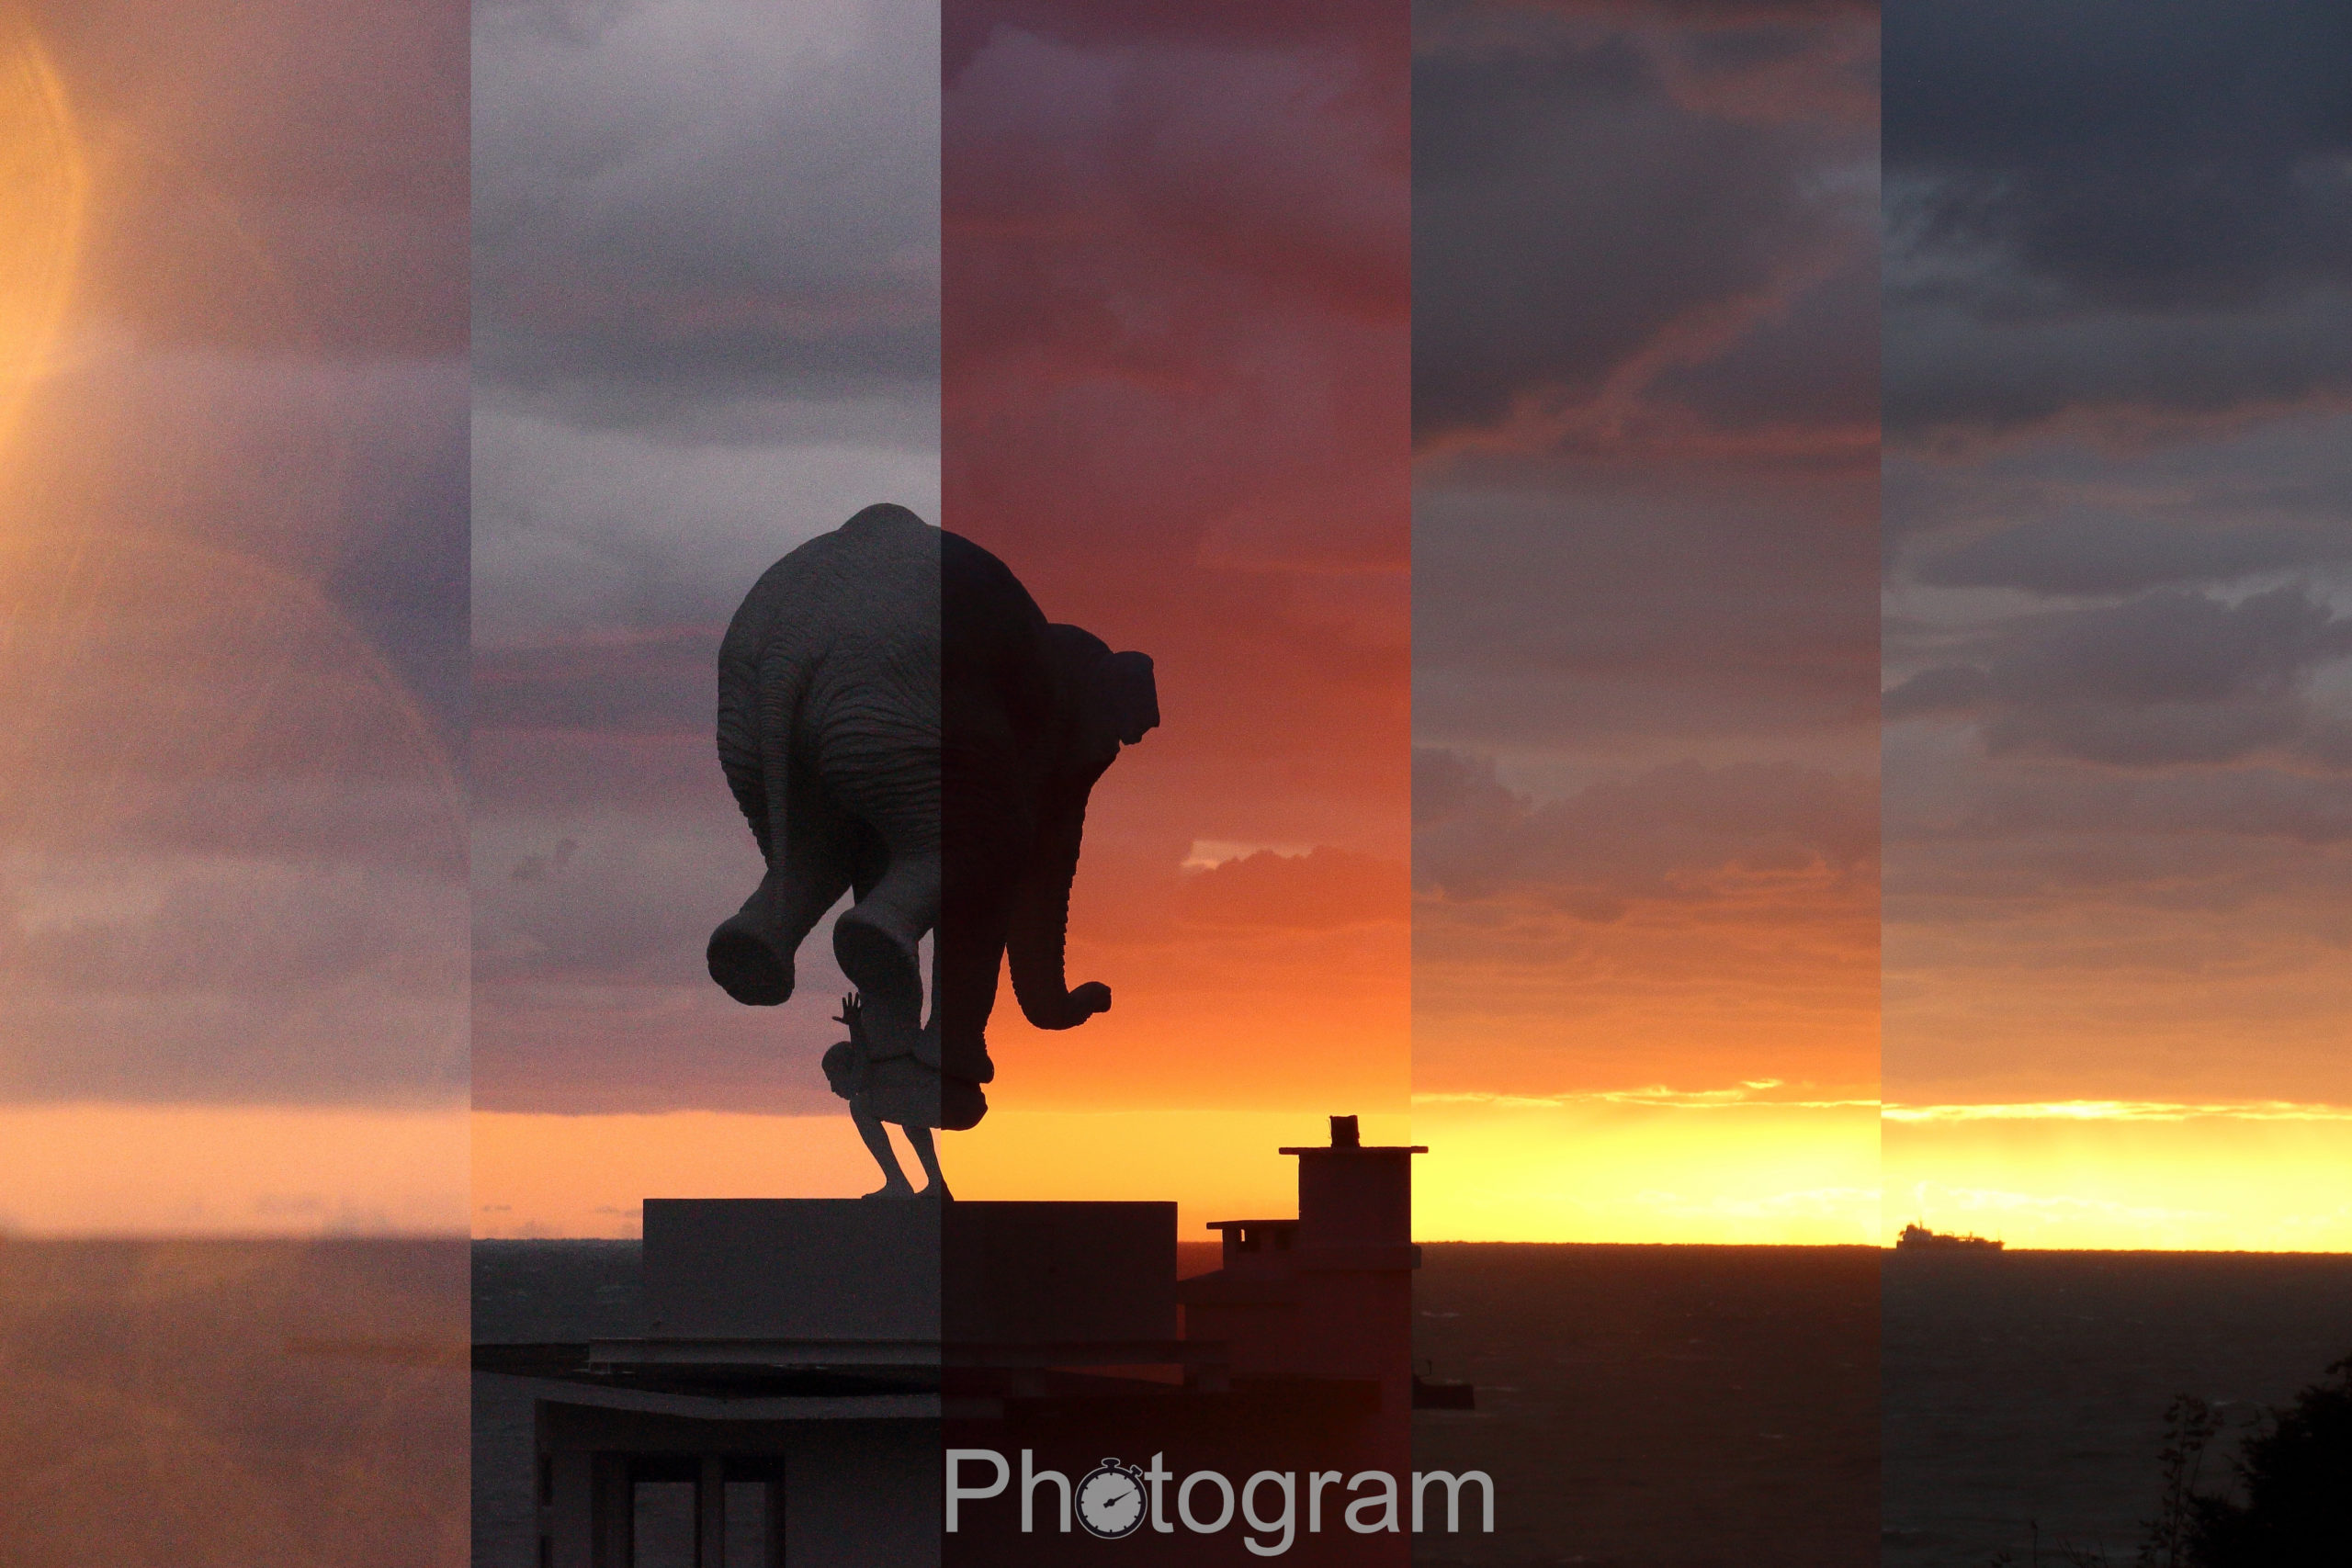
5 stripes
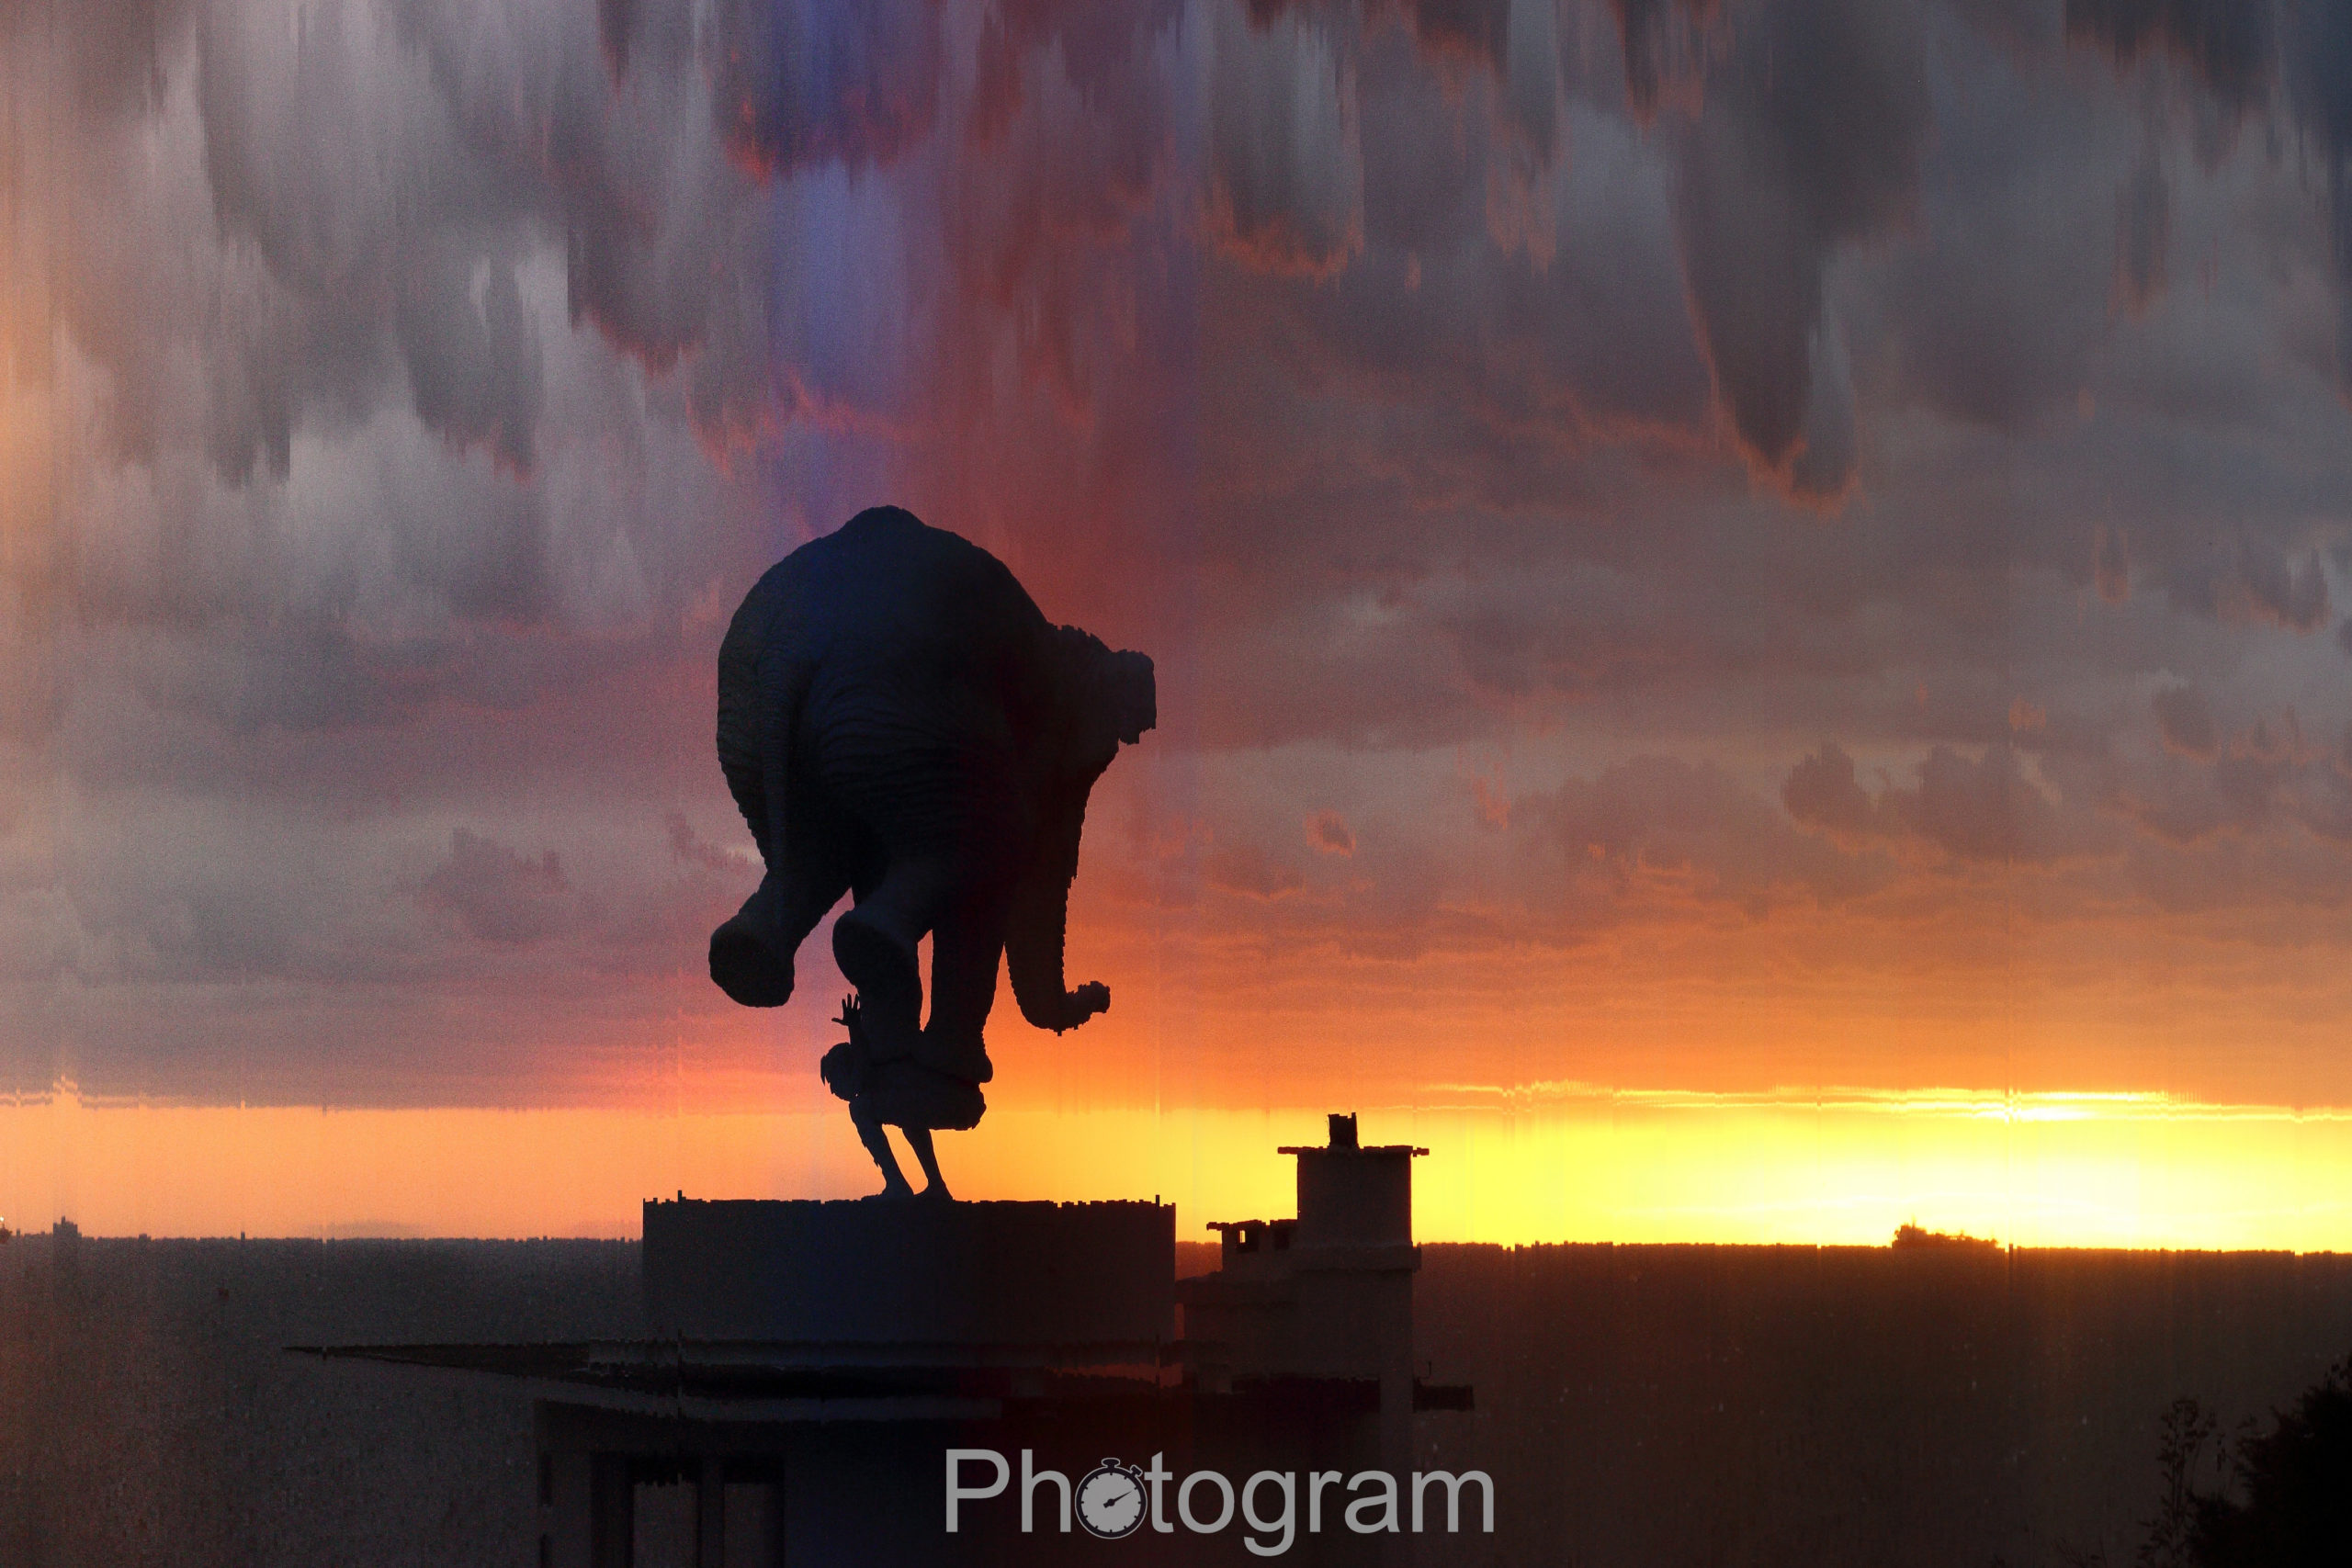
600 stripes
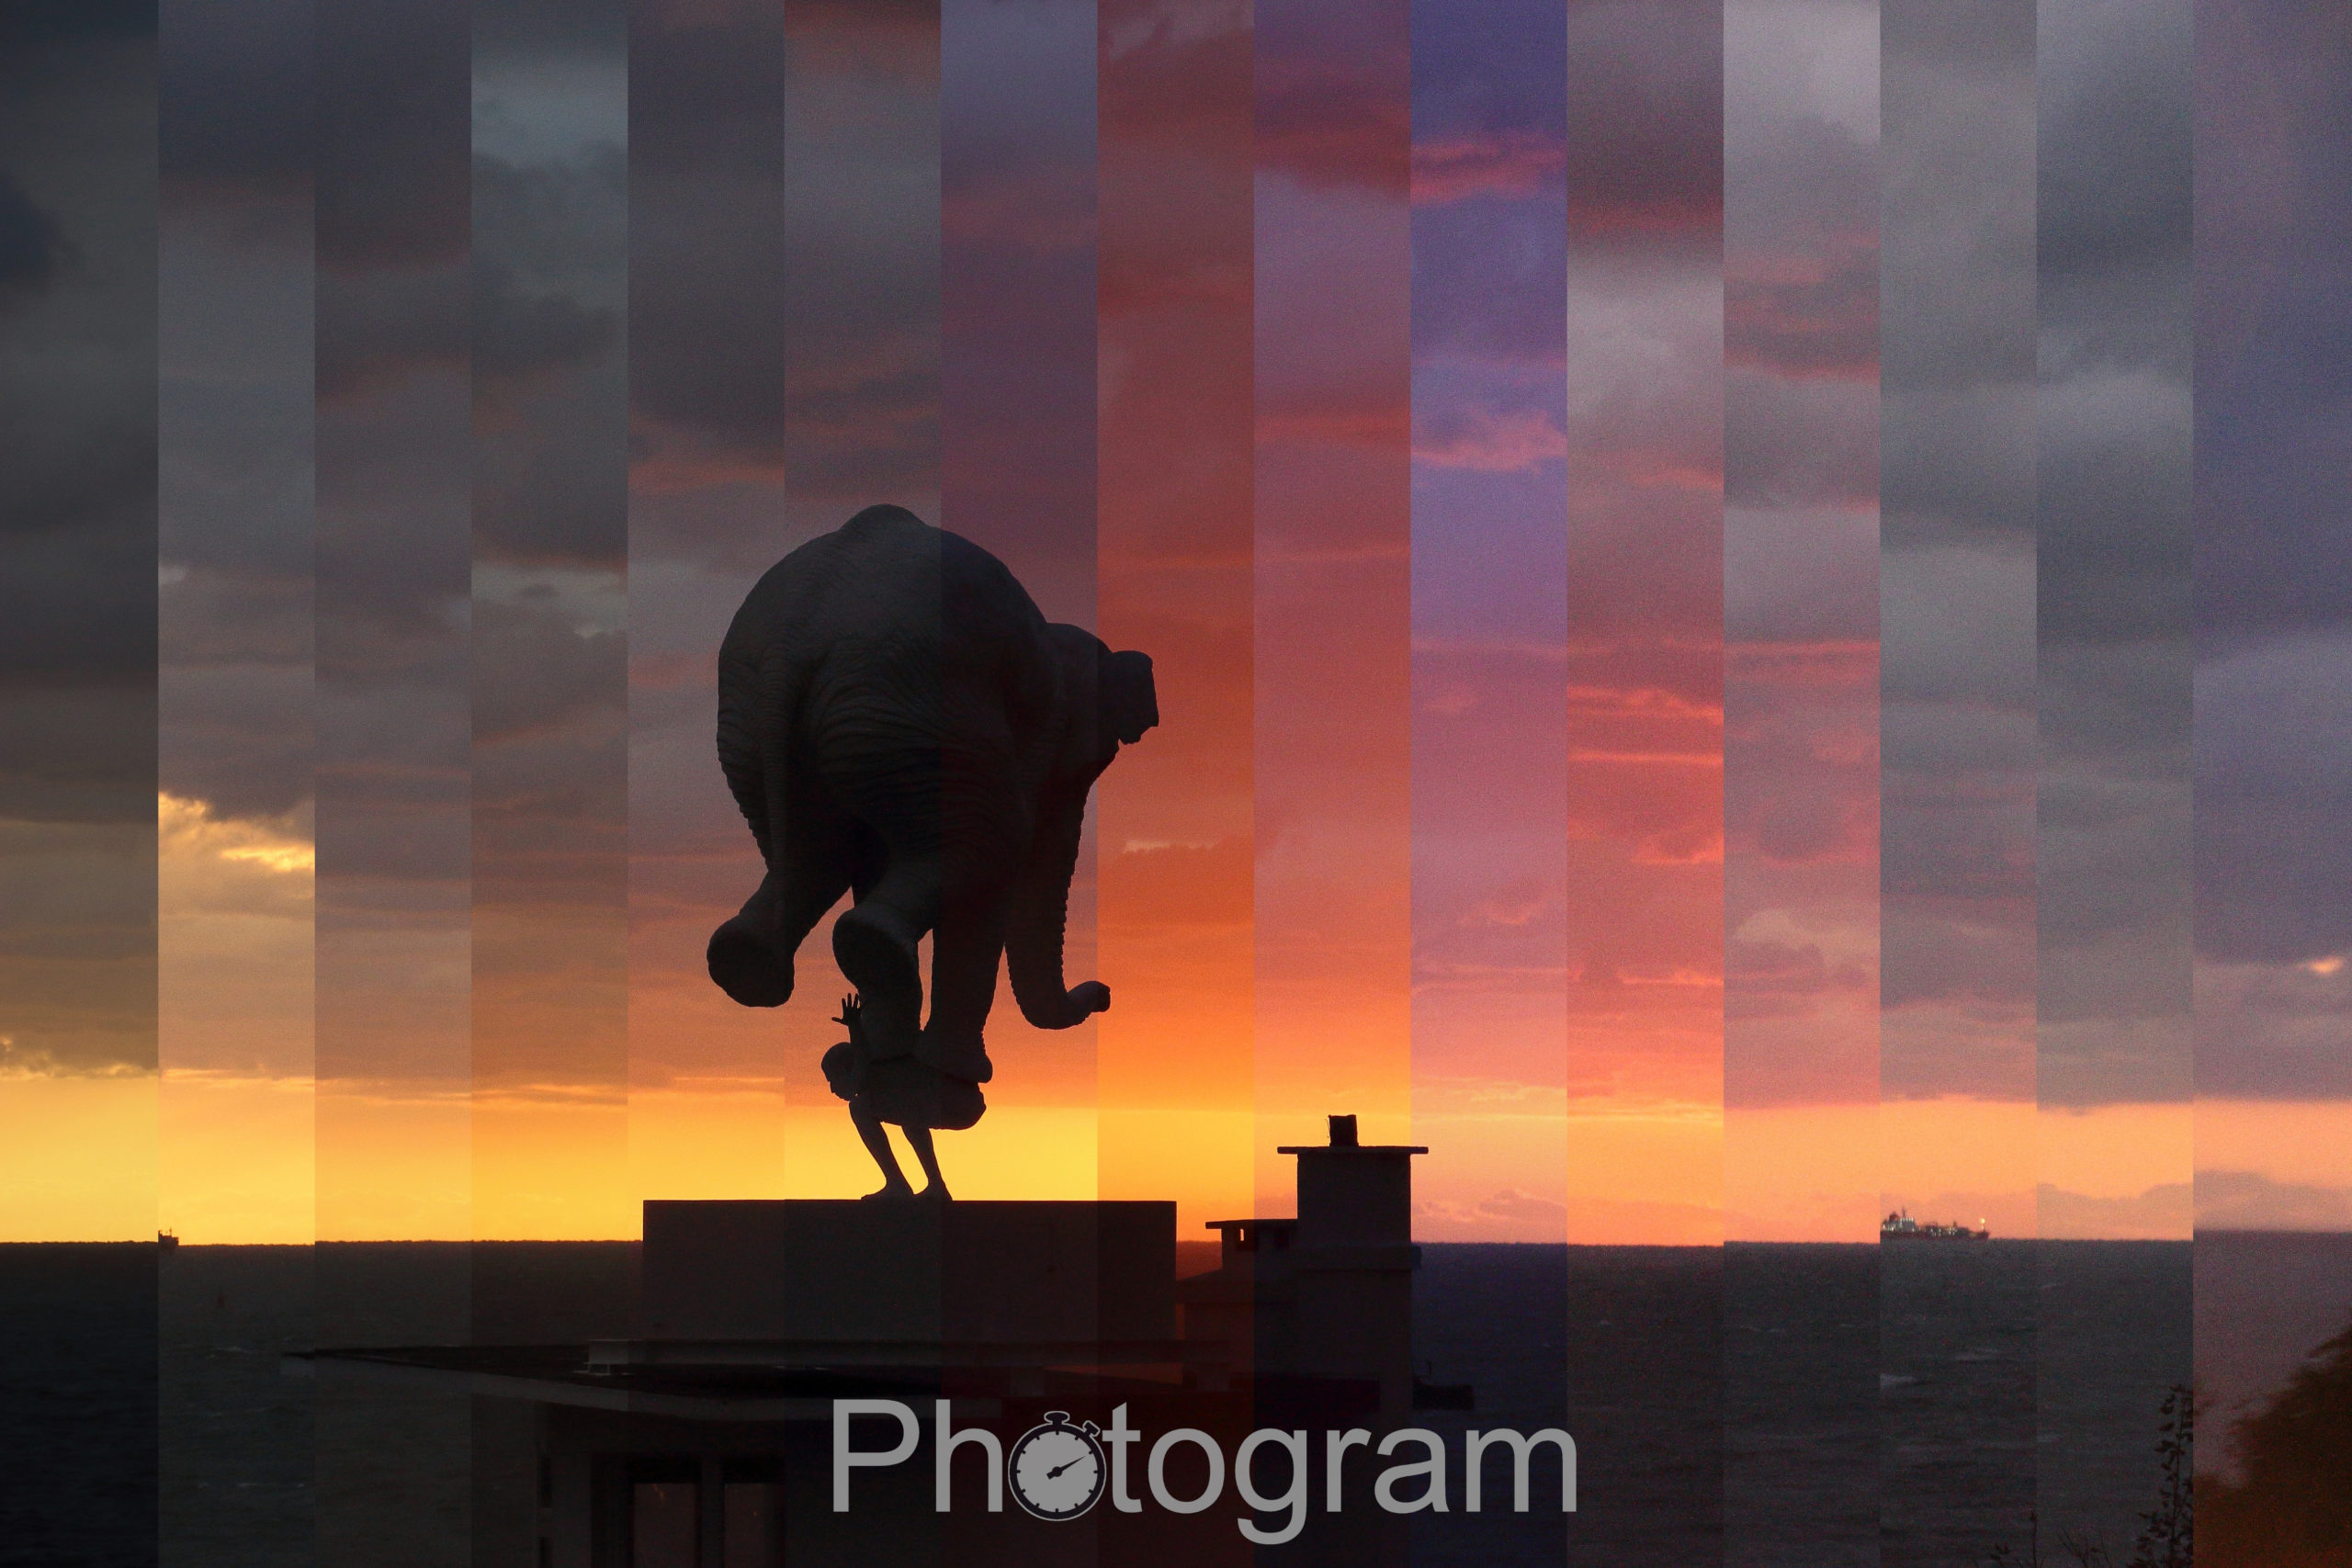
Time evolves within the Photogram : we see in the same result moments from before sunset and ones after.
Settings to tweak :
1. Choose the range of pictures
Within the whole timelapse, set the left and right cursors in order to fix the start and stop points in time for your Photogram.
2. Choose the number of desired stripes
This slider sets how many pictures will be used : they will appear as vertical stripes.
3. Choose the direction of the timelapse within the Photogram
Time can be flowing left to right, right to left, inside out or outside in.
For instance when choosing left to right, the beginning of your timelapse (or chosen range) will appear at the left of the Photogram, and the end of the timelapse (or range) will appear at the right.
Notice how I already render and easily change some parameters to get a better result.
4. Save your file
After finding a satisfying render, click on save to export your Photogram.
An Open-Folder button is available in the export settings at the left.
The Main process is finished ! The next steps are related to specific and non mandatory settings.
5. Add timestamps
This table enables to print the original picture timestamps on each stripe.
This option is especially usefull to help the understanding of what a Photogram is.
5. Shift the center
In the centered modes inside-out and outside-in, you may have seen a yellow stripe appearing during the setting-up. It marks the point where the timelapse transitions from progressing forward, like from 7 pm to 8 pm, to reversing direction, moving back from 8 pm to 7 pm for instance.
The following settings allows to shift this center, in order to emphasize a point of interest which is not directly located in the center.
6. Local variations
Until now, the time evolved in a linear way, so there is a constant step in time between two neighboring pictures. The next table allows to amplify or diminish a specific period of your timelapse.
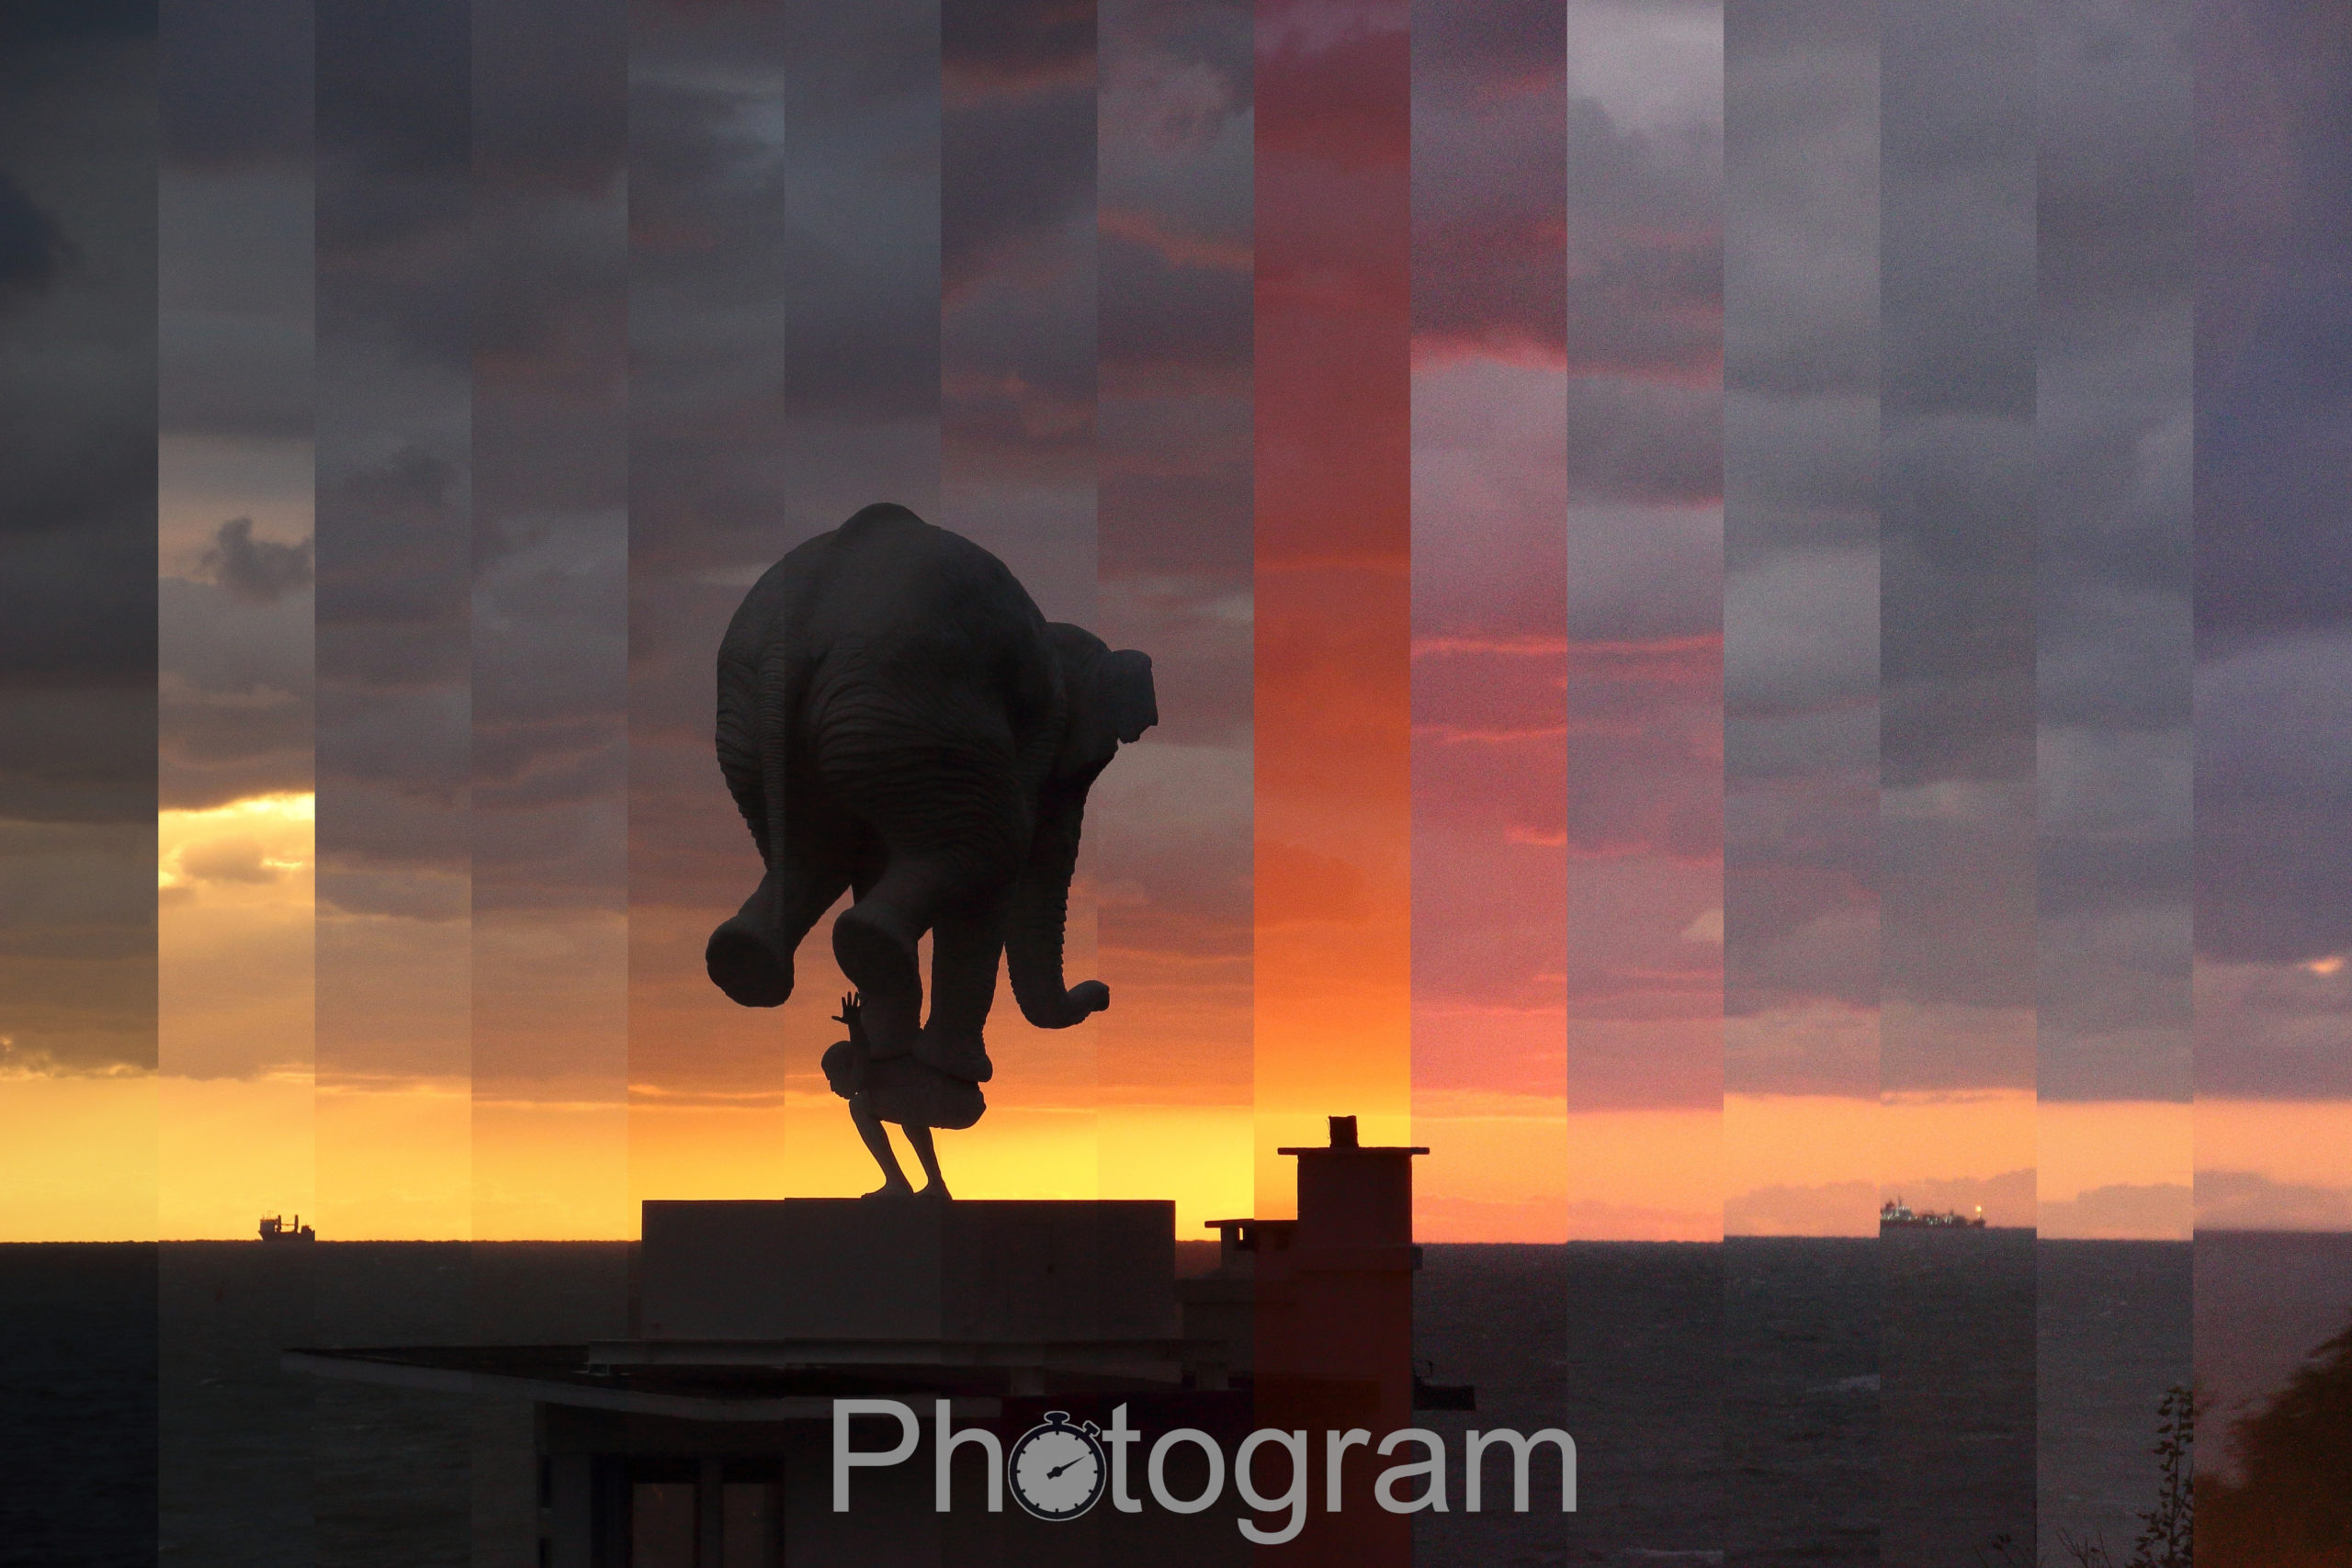
Amplified Photogram
Diminished Photogram
Notice how the purple tints of the sky appear in the left Photogram and vanish in the right one.
Based on a gaussian distribution, this tool allows you to smoothly but strongly emphasize a specific period of your timelapse, for instance some nice colors in the sky, or to diminish one where the lighting would not be especially interesting.
Notice how the local variations are showed in real time on top of the preview image represented by red stripes, or green in this case, with different levels of transparency.
Available soon on Microsoft store.
This Desktop Application is a personnal project created during my erasmus year at the Technical University Dresden, Germany. It is inspired from the concept of timeslices that exists for videos. For any suggestion or critic please write me.